Table of Contents
ToggleDIY projects techniques separate successful builds from frustrating failures. Whether someone is building their first bookshelf or tackling a bathroom renovation, the right methods make all the difference. Beginners often jump into projects without learning fundamental skills first. They end up with crooked cuts, wobbly joints, and finishes that peel within weeks.
This guide covers the core DIY projects techniques every maker needs. From accurate measuring to professional-quality finishes, these methods apply across woodworking, home improvement, and craft projects. Readers will learn practical skills they can use immediately on their next build.
Key Takeaways
- Mastering DIY projects techniques—from measuring to finishing—separates successful builds from frustrating failures.
- Always measure twice and cut on the waste side of your line, accounting for the saw blade’s kerf to ensure precision.
- Pre-drill pilot holes before driving screws to prevent wood splitting and create stronger, straighter connections.
- Progress through sanding grits without skipping steps, as missed grits leave scratches that show through your final finish.
- Apply thin coats of finish rather than thick ones to avoid bubbles, and allow proper drying time between each coat.
- Use the right joining technique for each situation—wood glue for permanent bonds, screws for removable connections, and pocket holes for hidden fasteners.
Measuring and Marking for Precision
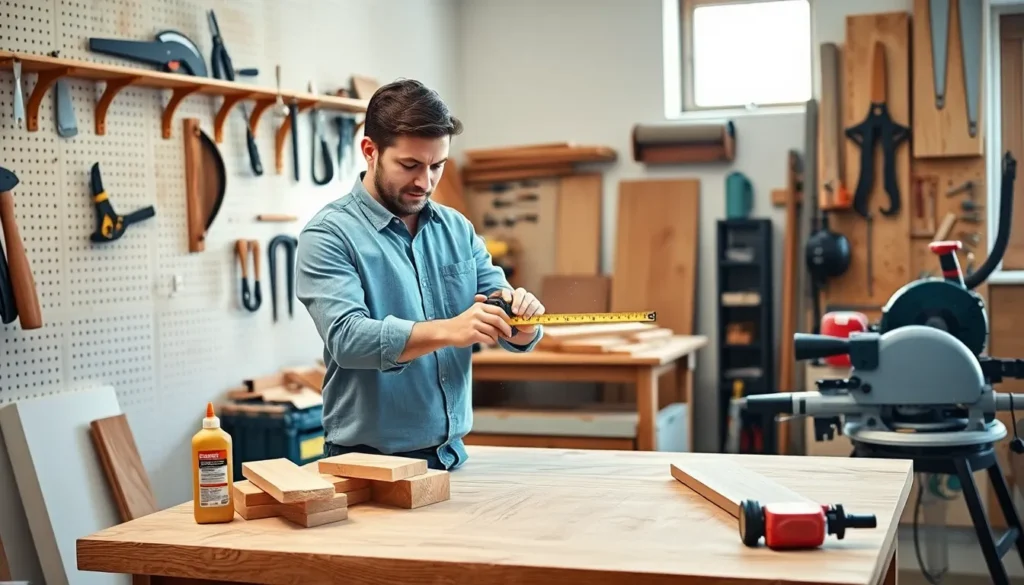
Every successful DIY project starts with accurate measurements. The old carpenter’s rule holds true: measure twice, cut once. But good measuring goes beyond just reading a tape correctly.
Choosing the Right Measuring Tools
A quality tape measure is essential for most DIY projects techniques. Look for one with a sturdy hook and clear markings. For smaller work, a combination square offers better accuracy than a tape alone. Digital calipers work best for projects requiring measurements under an inch.
Speed squares help mark perfect 90-degree and 45-degree angles quickly. They’re especially useful for framing and roofing work. A chalk line makes straight marks across long distances, perfect for laying flooring or hanging drywall.
Marking Techniques That Work
Pencil marks should be thin and precise. A dull pencil creates thick lines that introduce error. For dark materials, a white pencil or marking knife works better.
When marking cut lines, place the pencil point exactly on the measurement. Then slide a square up to meet the pencil. This prevents the common mistake of measuring from the wrong side of a mark.
For repeat cuts, make a story stick. This is simply a piece of scrap with all measurements marked on it. Using a story stick eliminates the cumulative error that happens when measuring each piece individually.
One often-overlooked DIY projects technique involves accounting for the “kerf”, the width of material removed by a saw blade. Always cut on the waste side of a line, leaving the pencil mark visible on the finished piece.
Cutting and Shaping Materials
Clean cuts require the right tool, proper technique, and patience. Rushing through cuts causes mistakes that waste materials and time.
Hand Tool Cutting Methods
Hand saws remain valuable DIY projects techniques tools even though power tool popularity. A sharp crosscut saw handles most wood cutting tasks. For finer work, a Japanese pull saw creates thinner kerfs and smoother cuts.
When using hand saws, let the tool do the work. Apply light pressure and focus on keeping the blade straight. Start cuts with short backward strokes to establish a groove.
For curves and detailed shapes, coping saws and jigsaws excel. Coping saws work well for interior cuts and tight curves in thin materials. They require frequent blade adjustments but offer excellent control.
Power Tool Basics
Circular saws cut straight lines through sheet goods and lumber quickly. Clamp a straight edge to guide the saw for cleaner results. The blade should extend only about 1/4 inch below the material.
Miter saws provide accurate angled cuts for trim work and framing. They excel at repetitive cuts when building furniture or installing molding.
Routers shape edges and cut dadoes, rabbets, and grooves. Starting with a basic router opens up dozens of DIY projects techniques possibilities. Use multiple shallow passes rather than one deep cut for cleaner results.
Always wear safety glasses and hearing protection when cutting. Secure workpieces firmly before making any cut. A moving board during a cut creates dangerous situations and ruins projects.
Joining and Fastening Techniques
How pieces connect determines a project’s strength and longevity. Different situations call for different DIY projects techniques in joining.
Mechanical Fasteners
Screws provide strong, removable connections. Pre-drilling pilot holes prevents wood from splitting and ensures screws drive straight. The pilot hole should match the screw’s inner shaft diameter.
For hardwoods, countersink holes so screw heads sit flush or below the surface. Pocket hole joinery creates strong connections without visible fasteners from the front. This technique works especially well for face frames and tabletops.
Nails work faster than screws for many applications. Brad nailers drive small fasteners for trim and molding. Finish nailers handle heavier trim and some structural connections. Always nail at slight angles when face-nailing to increase holding power.
Adhesive Bonds
Wood glue creates bonds stronger than the wood itself, when used correctly. Apply thin, even coats to both surfaces. Clamp pieces firmly for at least 30 minutes, though overnight is better.
Clean glue squeeze-out immediately with a damp cloth. Dried glue won’t accept stain and shows through finishes.
Epoxy fills gaps and bonds unlike materials. Two-part formulas offer various working times. Five-minute epoxy works for quick repairs: longer-setting versions allow positioning adjustments.
Traditional Joinery
Dado and rabbet joints use grooves cut into one piece to accept another. These DIY projects techniques add tremendous strength to shelving and cabinet boxes.
Mortise and tenon joints have connected furniture for centuries. Modern versions use dowels or biscuits to align pieces and add strength. Biscuit joiners cut matching slots quickly, making this ancient technique accessible to beginners.
Finishing and Surface Preparation
A great finish transforms ordinary projects into impressive pieces. But finishing success depends entirely on surface preparation.
Sanding Fundamentals
Sanding removes tool marks and opens wood grain to accept finishes. Start with coarser grits and progress to finer ones. Skipping grits leaves scratches that show through stains and clear coats.
For most projects, start at 80 or 100 grit. Move through 120, 150, and 180 before finishing. Projects receiving stain benefit from stopping at 150, finer sanding can burnish the surface and prevent even stain absorption.
Always sand with the grain direction. Cross-grain scratches become highly visible under finish. Between coats, sand lightly with 220 grit or use synthetic steel wool.
Random orbit sanders speed the process while minimizing swirl marks. For flat surfaces, they’re the best tool for the job. Hand sand edges, profiles, and details where power sanders can’t reach.
Applying Finishes
Oil finishes penetrate wood and enhance natural grain. They’re forgiving to apply and easy to repair. Wipe on generously, let soak for 15 minutes, then wipe off excess completely.
Polyurethane provides durable protection for high-use surfaces. Oil-based versions dry slowly but level beautifully. Water-based poly dries faster and doesn’t yellow over time.
Apply thin coats rather than thick ones. Thick applications trap solvents, causing bubbles and extended dry times. Sand between coats with fine grit to promote adhesion.
These DIY projects techniques in finishing reward patience. Rush the process, and weeks of building work get ruined in hours. Allow proper dry time between coats, and work in clean, dust-free spaces when possible.


